A guided tour: what each setting does to your result
Four settings in, seven numbers out. Move one at a time and watch which of the seven follow: one setting redraws the ladder without touching the pivot, and the other three move the pivot and the ladder together, at different speeds.
It answers the question you ask before a session opens: given what price did yesterday, where does the formula put today’s reference levels, and how far apart does it space them? Traders reach for it at three moments.
Before the session opensTo mark the day’s reference levels on a clean chart, before the first candle prints.
After an unusually quiet or wild dayThe spacing comes from the prior range, so a narrow session and a wide one give very different distances.
When two sources disagreeAn indicator and a written plan can print different levels from one session. Switch the method until you find the one they used.
The screenshots below are this page’s own calculator, at the settings each step names. Anything a step does not name stays at the page default: Classic, a High of 1.10500, a Low of 1.09500 and a Close of 1.10200. Four marks tell you what to look at.
The one setting this step changes
An output that moves because of it
An output that stays put, which is worth knowing too
In step 1, a numbered output, explained in the list under the picture
1
Before you touch anything
Read the panel as one ladder, from R3 down to S3
The default session: Classic, High 1.10500, Low 1.09500, Close 1.10200. The numbers match the list below.
The seven outputs are one ladder, each rung at its own distance from the middle.
Pivot Point (1.10067). The average of yesterday’s high, low and close, and the level every other number here is measured against. The sentence under it gives the convention: above the pivot leans bullish for the session, below it leans bearish.
Resistance 3 (1.11633). The furthest rung above the middle, reached only on a day that extends well past yesterday’s range.
Resistance 2 (1.11067). The pivot plus yesterday’s entire range.
Resistance 1 (1.10633). The first rung above the pivot, and the one an up day meets first.
Support 1 (1.09633). R1’s counterpart below the pivot.
Support 2 (1.09067). The pivot minus yesterday’s entire range.
Support 3 (1.08633). The furthest rung below.
What this means for you: read the pivot first and the gaps second. A rung matters only if today’s price can plausibly reach it, and the gap from 1.09633 to 1.10633 says more about that than either figure alone.
2
Setting: method, to Fibonacci
Switch to Fibonacci, and the pivot holds while the ladder pulls in
Method moved from Classic to Fibonacci. The three prices were not touched.
Resistance 1
1.106331.10449
Resistance 3
1.116331.11067
Pivot Point
1.10067unchanged
What it is. The method is the formula set that turns your three prices into levels. Classic builds the rungs from the pivot and the prior range; Fibonacci multiplies that range by 0.382, 0.618 and 1.000.
What moving it does. All three methods define the pivot as the same average, so the headline does not move: 1.10067 before and 1.10067 after. Everything around it contracts. R1 comes in from 1.10633 to 1.10449, S1 lifts from 1.09633 to 1.09685, and the top rung drops from 1.11633 to 1.11067. Classic runs 1.08633 to 1.11633, a width of 0.03000; Fibonacci runs 1.09067 to 1.11067, a width of 0.02000.
What this means for you: choose the method your own chart draws, then leave it alone. Changing it mid-session moves every level you work from while the market has done nothing.
3
Setting: method, to Camarilla
Camarilla measures from the close, so the ladder sits where the day ended
Method moved from Classic to Camarilla. The three prices were not touched.
Resistance 3
1.116331.10750
Support 1
1.096331.10017
Pivot Point
1.10067unchanged
What it is. Camarilla measures its rungs from the previous close rather than from the pivot, using multipliers of 0.183, 0.275 and 0.55 on the prior range.
What moving it does. The headline still reads 1.10067, because the average has not changed. Everything else collapses inward and shifts up toward the close of 1.10200, the centre the rungs are now built around. R1 arrives at 1.10383 instead of 1.10633, R3 at 1.10750 instead of 1.11633, S3 at 1.09650 instead of 1.08633. The ladder spans 0.01100, from 1.09650 to 1.10750, against 0.03000 under Classic. S1 shows it best: at 1.10017 it sits 0.00050 under the pivot, where Classic put it 0.00434 under.
What this means for you: with rungs this close, ordinary movement can cross several in an hour. Take your entry-to-exit distance from the chart and your own risk limit, not from the gap between two rungs.
4
Setting: previous close
Move the close, and the inner rungs travel twice as far as the pivot
Previous Close moved from 1.10200 to 1.10450. The High and the Low were left alone.
Pivot Point
1.100671.10150
Resistance 1
1.106331.10800
Resistance 2
1.110671.11150
What it is. The last traded price of the prior session, and the one input of the three that depends on where you draw the end of the day.
What moving it does. The close is one of three prices in the average, so raising it by 0.00250 raises the pivot by a third of that, from 1.10067 to 1.10150. The rungs do not all follow at that rate. R1 and S1 are built from twice the pivot, so they travel twice as far: R1 to 1.10800 and S1 to 1.09800, 0.00167 each. R2 keeps its old distance from the middle, because that distance is yesterday’s range, so it shifts the same 0.00083 as the pivot, to 1.11150.
What this means for you: fix one session boundary and use it every day. Before deciding your levels disagree with someone else’s, check you closed the day at the same hour, because the inner rungs double that difference.
5
Setting: previous high
A higher high lifts the pivot and drags the supports down with it
Previous High moved from 1.10500 to 1.11000. The Low and the Close were left alone.
Pivot Point
1.100671.10233
Resistance 3
1.116331.12467
Support 3
1.086331.07967
What it is. The highest price printed in the prior session, read at the same boundary as the close.
What moving it does. Adding 0.00500 to the high does two jobs. It lifts the average, so the pivot rises to 1.10233, and it widens yesterday’s range, which is what spaces the rungs. Resistance stretches up, R3 from 1.11633 to 1.12467 and R1 to 1.10967, while support stretches down: S1 falls to 1.09467 and S3 to 1.07967. Support moved away even though the pivot moved up, which is the part most readers do not expect.
What this means for you: check the high you type is a real session print, not a stray tick. One bad wick widens every rung at once, and the outer ones move the most.
6
Setting: previous low
The same pivot can carry a ladder three times narrower
Previous Low moved from 1.09500 to 1.10000. The High and the Close were left alone.
Pivot Point
1.100671.10233
Resistance 3
1.116331.10967
Support 3
1.086331.09467
What it is. The lowest price printed in the prior session. A higher low means a tighter range, not a stronger session.
What moving it does. Raising the low by 0.00500 lifts the pivot to 1.10233, the identical figure step 5 produced from the high, because the three prices add to the same total. The ladder is nothing like the same. A higher low narrows the prior range, so every rung pulls toward the middle: R1 1.10467, R3 1.10967, S1 1.09967, S3 1.09467. This ladder spans 0.01500, from 1.09467 to 1.10967; step 5 spanned 0.04500, from 1.07967 to 1.12467, three times as wide from the same pivot.
What this means for you: never read the pivot on its own. Two sessions can give the same 1.10233 with ladders three times apart in width, and spacing decides whether a rung is close enough to today’s price to matter.
A two-minute routine before the session
Put the steps together and this becomes the first thing you do to a clean chart.
Take the three prices from one session definition
Read yesterday’s high, low and close off one chart, at the session boundary you trade today, and type them exactly as printed.
Pick the method once
Match what your charting platform draws, so your screen and this panel agree. Classic is the default here and the widest of the three.
Read the pivot, then the spacing
Start with the headline, then the gap between R1 and S1. That gap is the room the formula left around the middle.
Compare the ladder with today’s price
If price opened outside the outer rungs, the ladder describes a session the market has left behind.
Verify, then size the trade
Put the same prices into your platform’s own pivot indicator and confirm it prints these figures; if it does not, the method or the boundary differs. Then set your stop distance and the money behind it with the position size calculator, so the level and the risk are decided together.
Every number above is arithmetic on three prices you typed. A pivot ladder marks where one formula puts its levels for the session. It is not a forecast, and nothing in it says price will stop or turn at any of them.
The Math
How Pivot Points Are Calculated
The central pivot is the average of the prior High, Low and Close. Support and resistance levels then radiate outward from that pivot. The Classic method derives them from the pivot and the prior range; Fibonacci and Camarilla apply fixed multipliers to the range instead.
Day traders typically use the prior daily High, Low and Close to map intraday levels. Swing traders can feed in weekly or monthly values to project levels over a longer horizon. Match the input timeframe to the period you intend to trade.
Classic vs Fibonacci vs Camarilla?
Classic spaces levels evenly from the pivot and the prior range. Fibonacci weights the range by 0.382, 0.618 and 1.000 ratios. Camarilla centres tighter levels around the close, which suits mean-reversion setups. Try each on your chart to see which fits the instrument.
How do I trade these levels?
Many traders watch the pivot as a session bias line and treat R1-R3 and S1-S3 as potential reaction zones for entries, targets or stops. Levels are reference points, not signals; always combine them with your own analysis and a defined risk plan.
Do pivots update during the day?
No. Pivot levels are fixed for the chosen session because they are built from the previous period's completed High, Low and Close. They stay constant until the next period closes, then you recalculate using the new prior values.
Prior session levels
Forex Pivot Points Calculator From Yesterday's High, Low and Close
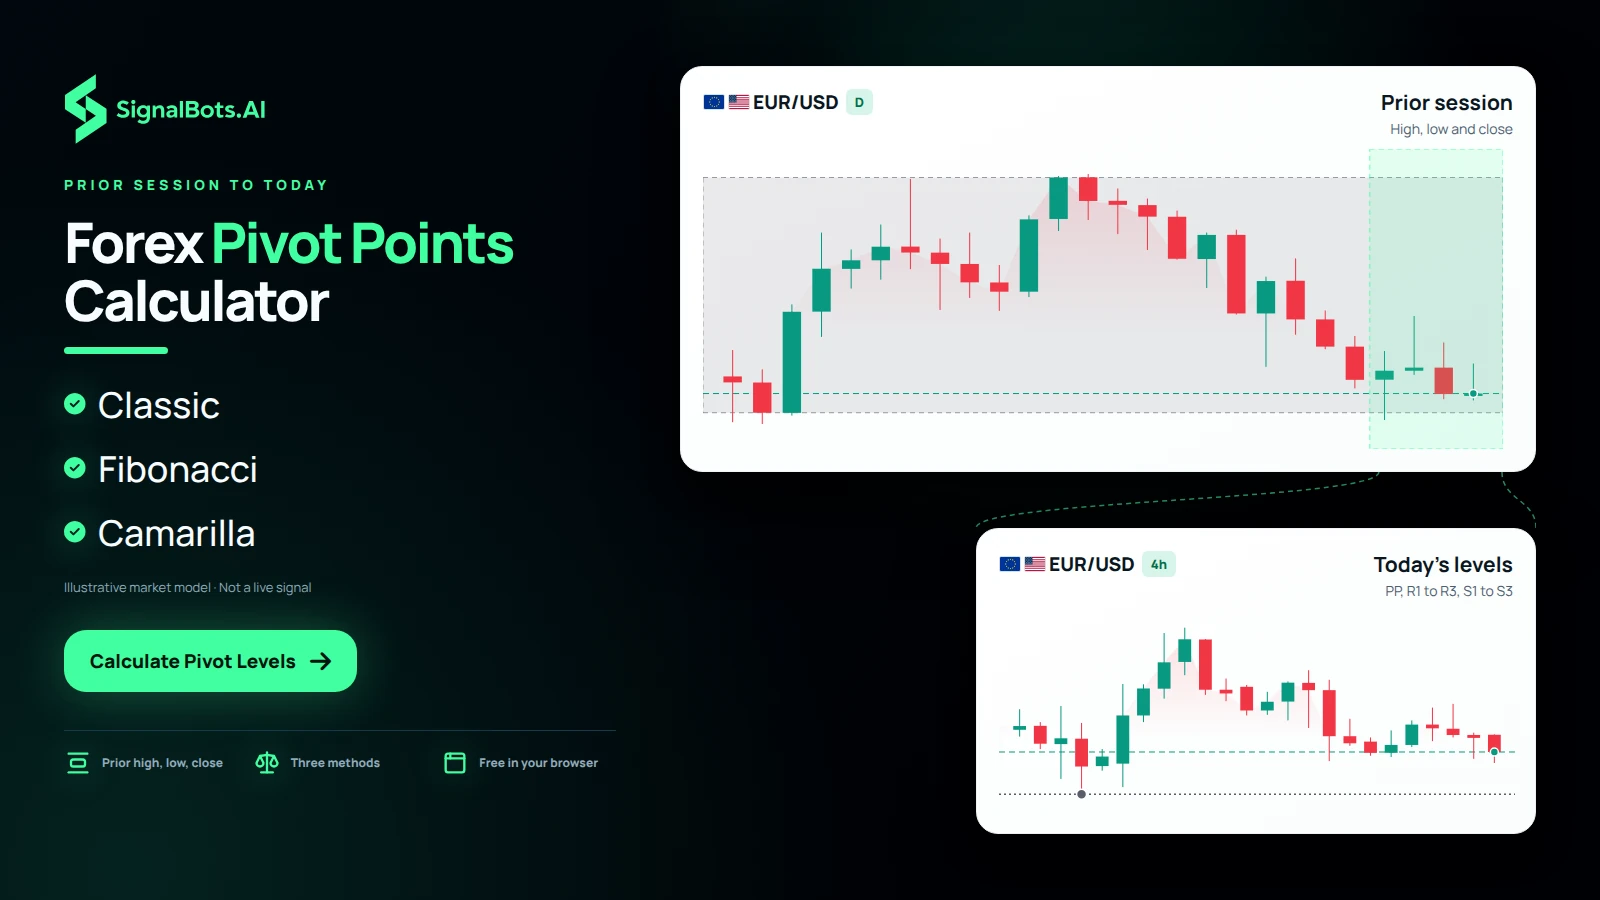
This forex pivot points calculator turns yesterday's high, low and close into the support and resistance levels for the session ahead. You enter the three prior values, pick Classic, Fibonacci or Camarilla, and it returns the central pivot with resistance R1 to R3 above it and support S1 to S3 below. The pivot itself is the average of the prior high, low and close, (H + L + C) / 3, and the other levels radiate outward from it. Switching method takes one click, so you can compare how each spaces the levels on the same inputs, free and right in your browser.
Pivot timeframe
Daily, Weekly or Monthly Pivots for the Horizon You Trade
The levels are only as relevant as the period you feed in, so match the input timeframe to the horizon you trade. Day traders typically use the prior daily high, low and close to map intraday levels for the session. Swing traders can feed in weekly or monthly values instead to project levels over a longer horizon. The formula stays the same whatever the timeframe; only the three values you take from your chart change. Pick the period first, then read its high, low and close from the last completed candle of that size, so the levels describe the stretch you actually plan to hold through.
Pivot methods
Classic Versus Camarilla Pivot Points for Range and Reversion
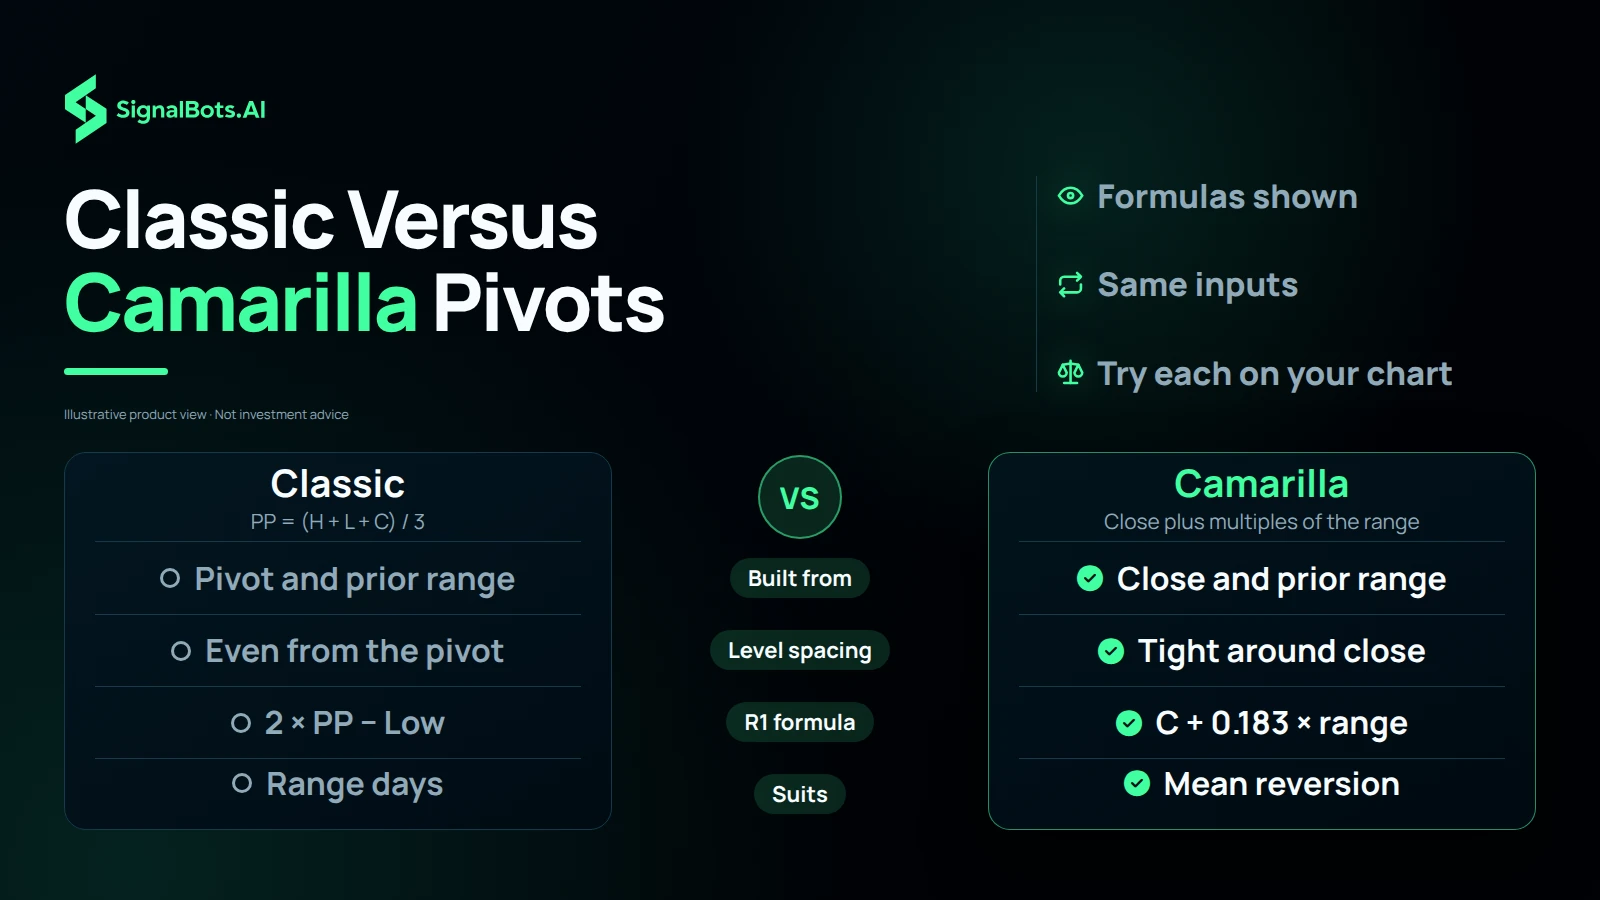
All three methods start from the same central pivot but place the levels differently. Classic spaces them evenly from the pivot and the prior range, with R1 at 2 × PP − Low and S1 at 2 × PP − High, which suits range days. Fibonacci weights the prior range by 0.382, 0.618 and 1.000 from the pivot. Camarilla centres tighter levels around the prior close, adding fixed multiples of the range such as 0.183 for R1, which suits mean-reversion setups. Because each method reads the same three inputs, you can switch between them and check on your chart which one fits the pair you trade.
Reading the levels
Using the Central Pivot as a Bias Line With R1 and S1 Zones
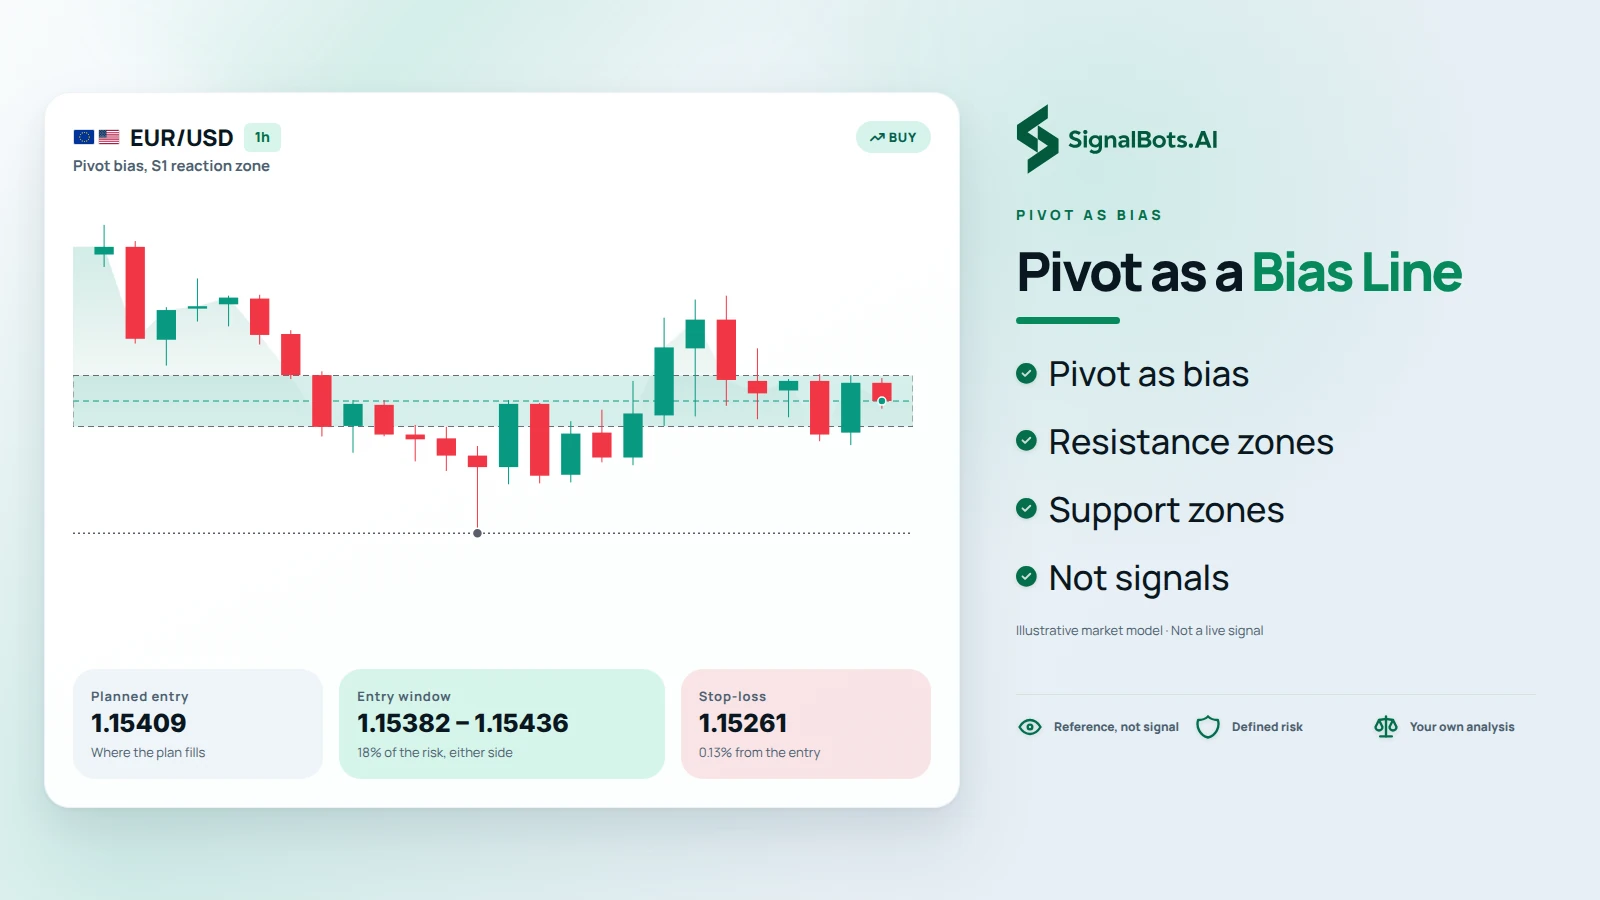
Many traders watch the central pivot as a session bias line and treat R1 to R3 and S1 to S3 as potential reaction zones, places to plan an entry, a target or a stop. The levels are reference points, not signals, so price reaching one is not a reason to trade on its own. Combine them with your own analysis, decide where the idea is wrong before you enter, and size the position from that stop rather than from the level. A zone gives you a place to prepare a plan; trading carries risk of loss, and no level removes it.
Before the session
Recalculate Pivots After Each Close and Plan the Risk First
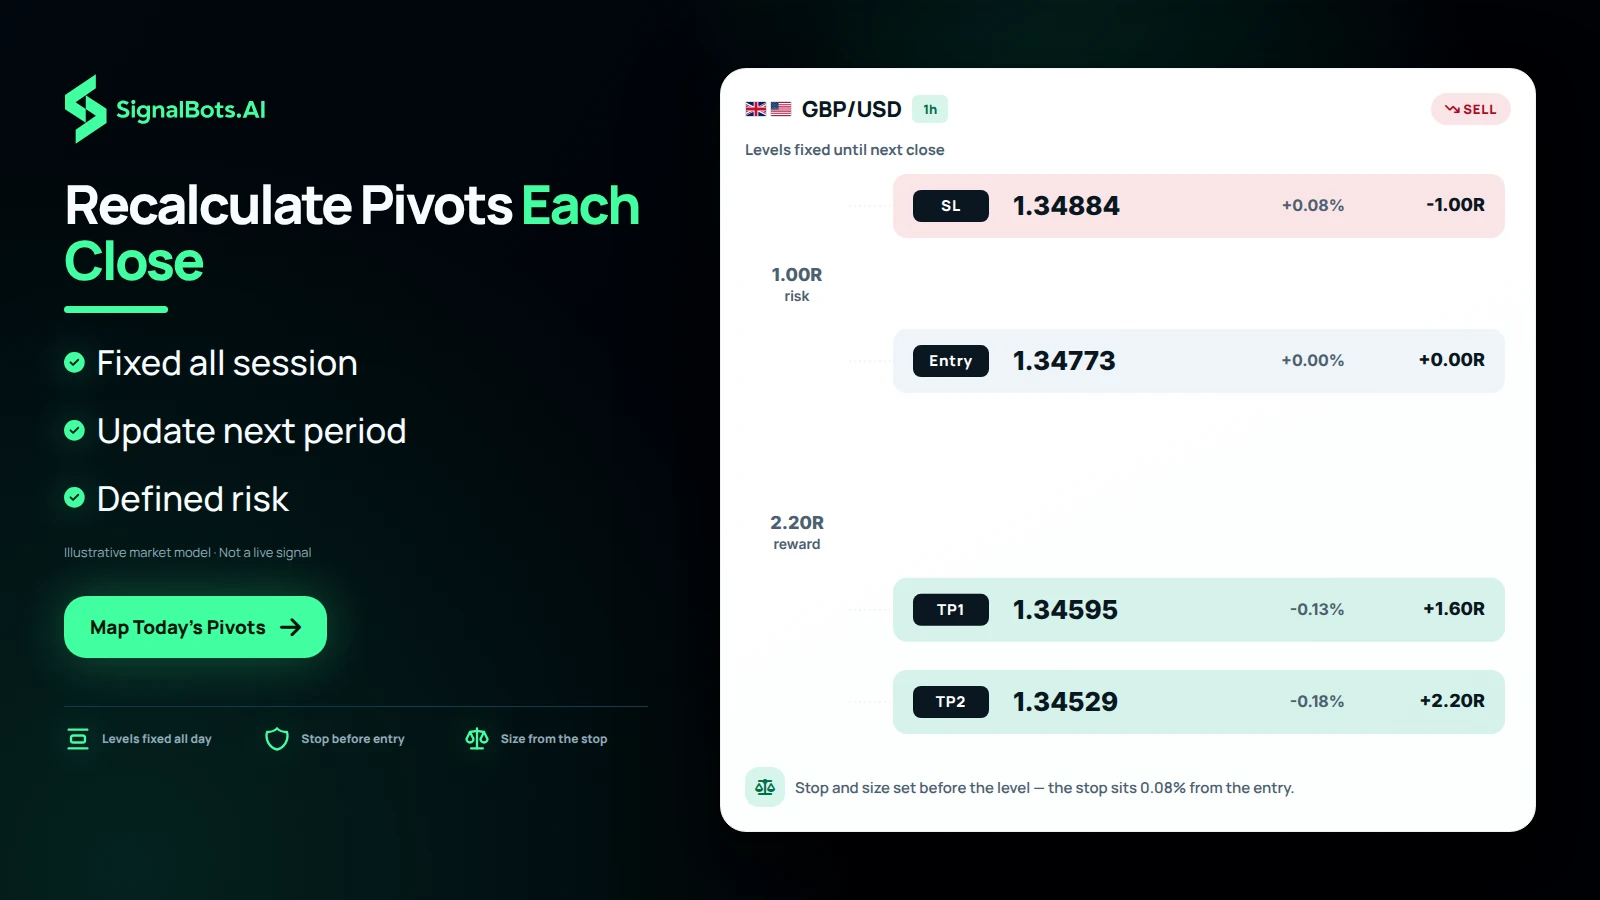
Pivot levels do not update during the day. They are built from the previous period's completed high, low and close, so they stay fixed for the whole session and only change once the next period closes, when you enter the new prior values and recalculate. That makes a short routine worth keeping: after each close, update the three inputs, map the pivot with its support and resistance, then set your stop and size before price reaches a level. Carry that stop into the position size calculator for the lot. The routine works for day and swing traders alike, and trading carries risk of loss.
Related Tools
More Calculators for Your Trading
Free, instant, and browser-based. Keep planning the rest of your trade with these.
No switching accounts, no relearning a platform. Whichever Forex broker you already trust, SignalBots plugs straight in with extensions, robots, connectors and live signals tuned to it.